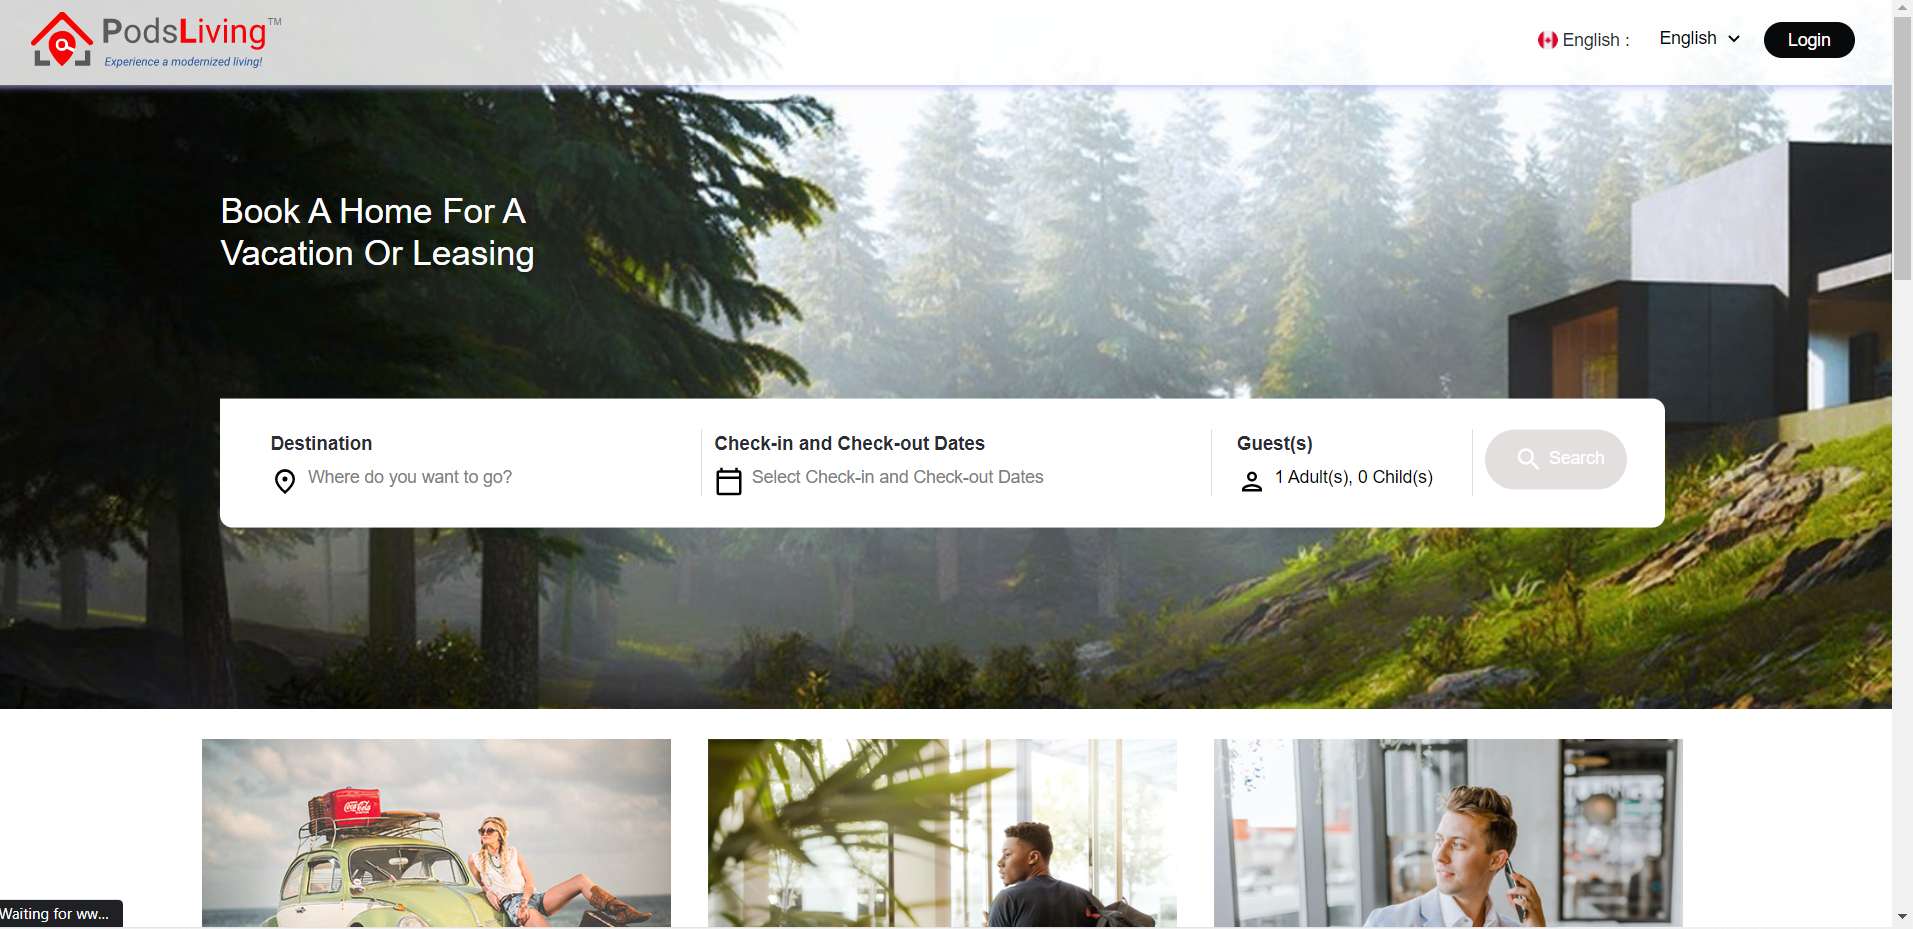
1. Go to https://www.podsliving.ca/ and Login to your account.
2. Open Dashboard page. Create New Listing button will appear in blue color. Click on button and open the page.

3. There are so many steps to create a listing in the left sidebar.
1. Property Title & Address
2. Type of Space & Property
3. Describe your Property
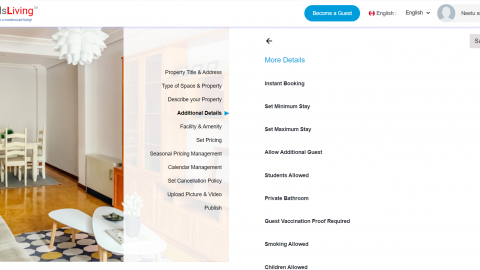
4. Additional Details
5. Facility & Amenity
6. Set Pricing
7. Seasonal Pricing Management
8. Calendar Management
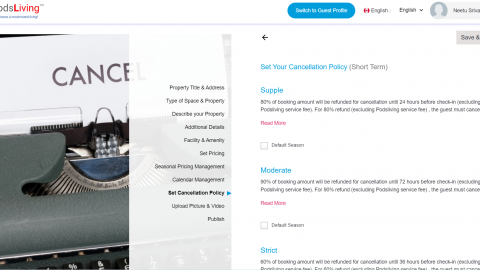
9. Set Cancellation Policy
10.Upload Picture & Video
11. Publish
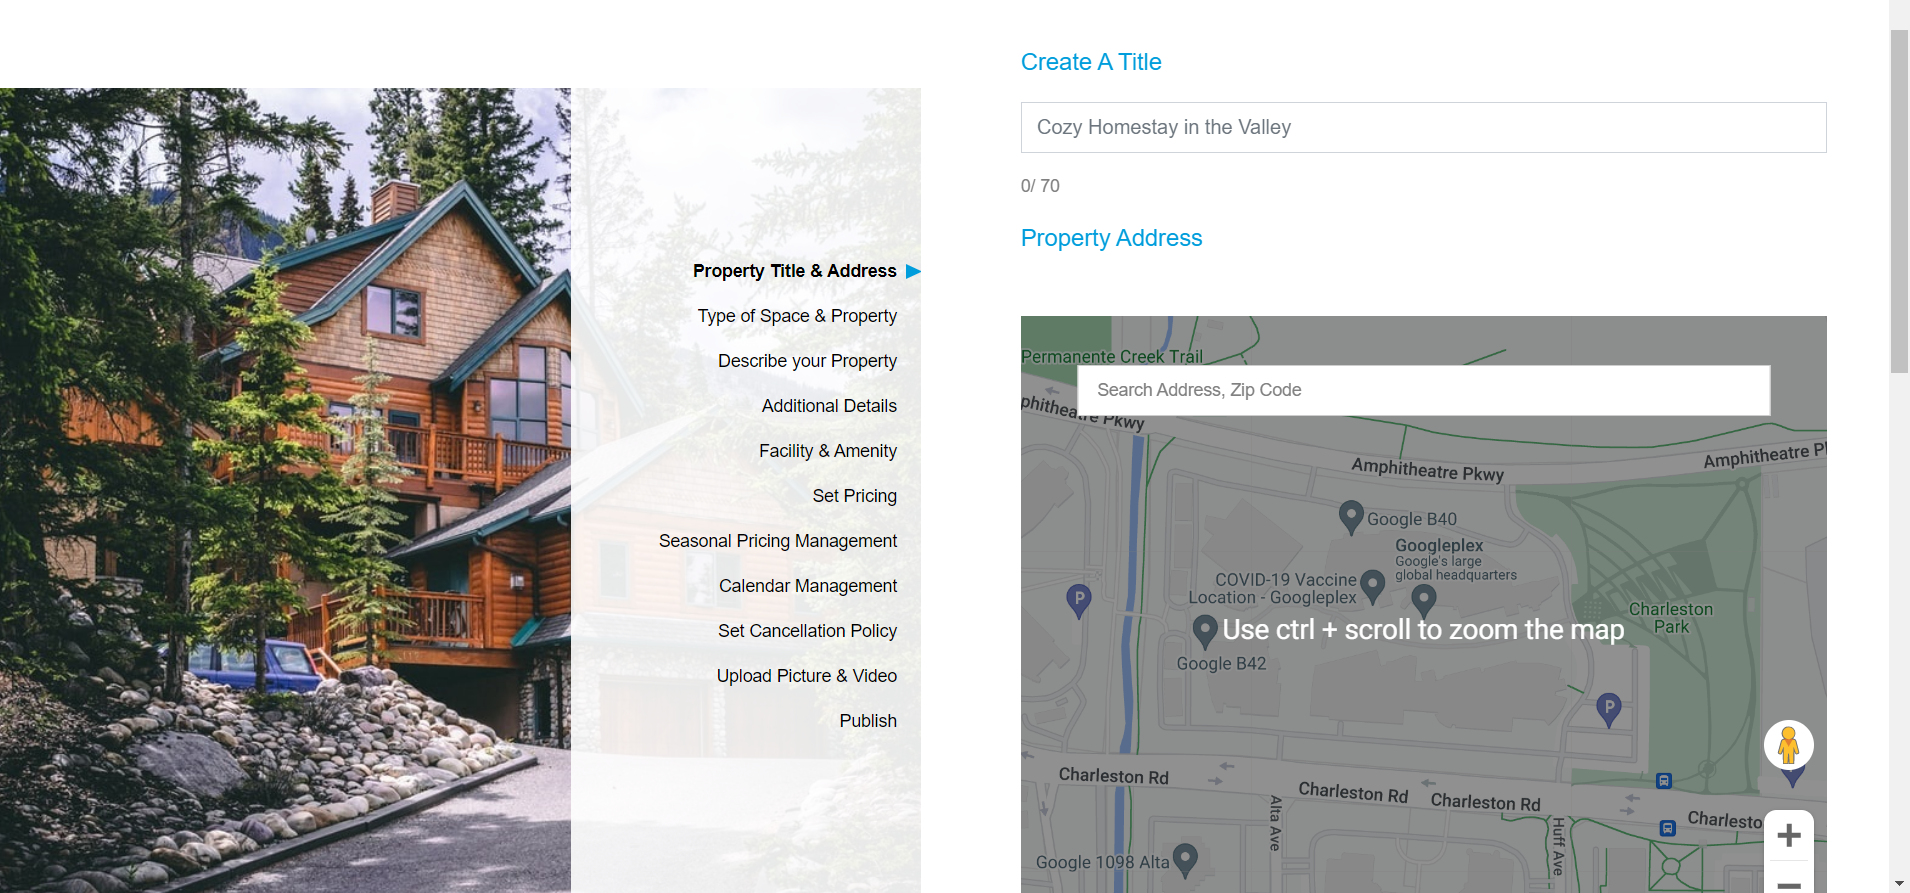
4. First Property Title & Address will open. Fill Title, Address, and Timezone. When you fill address to map. It will generate exact address and auto-fill the address in the Confirm your Address. After fill all the field click on Next Button.
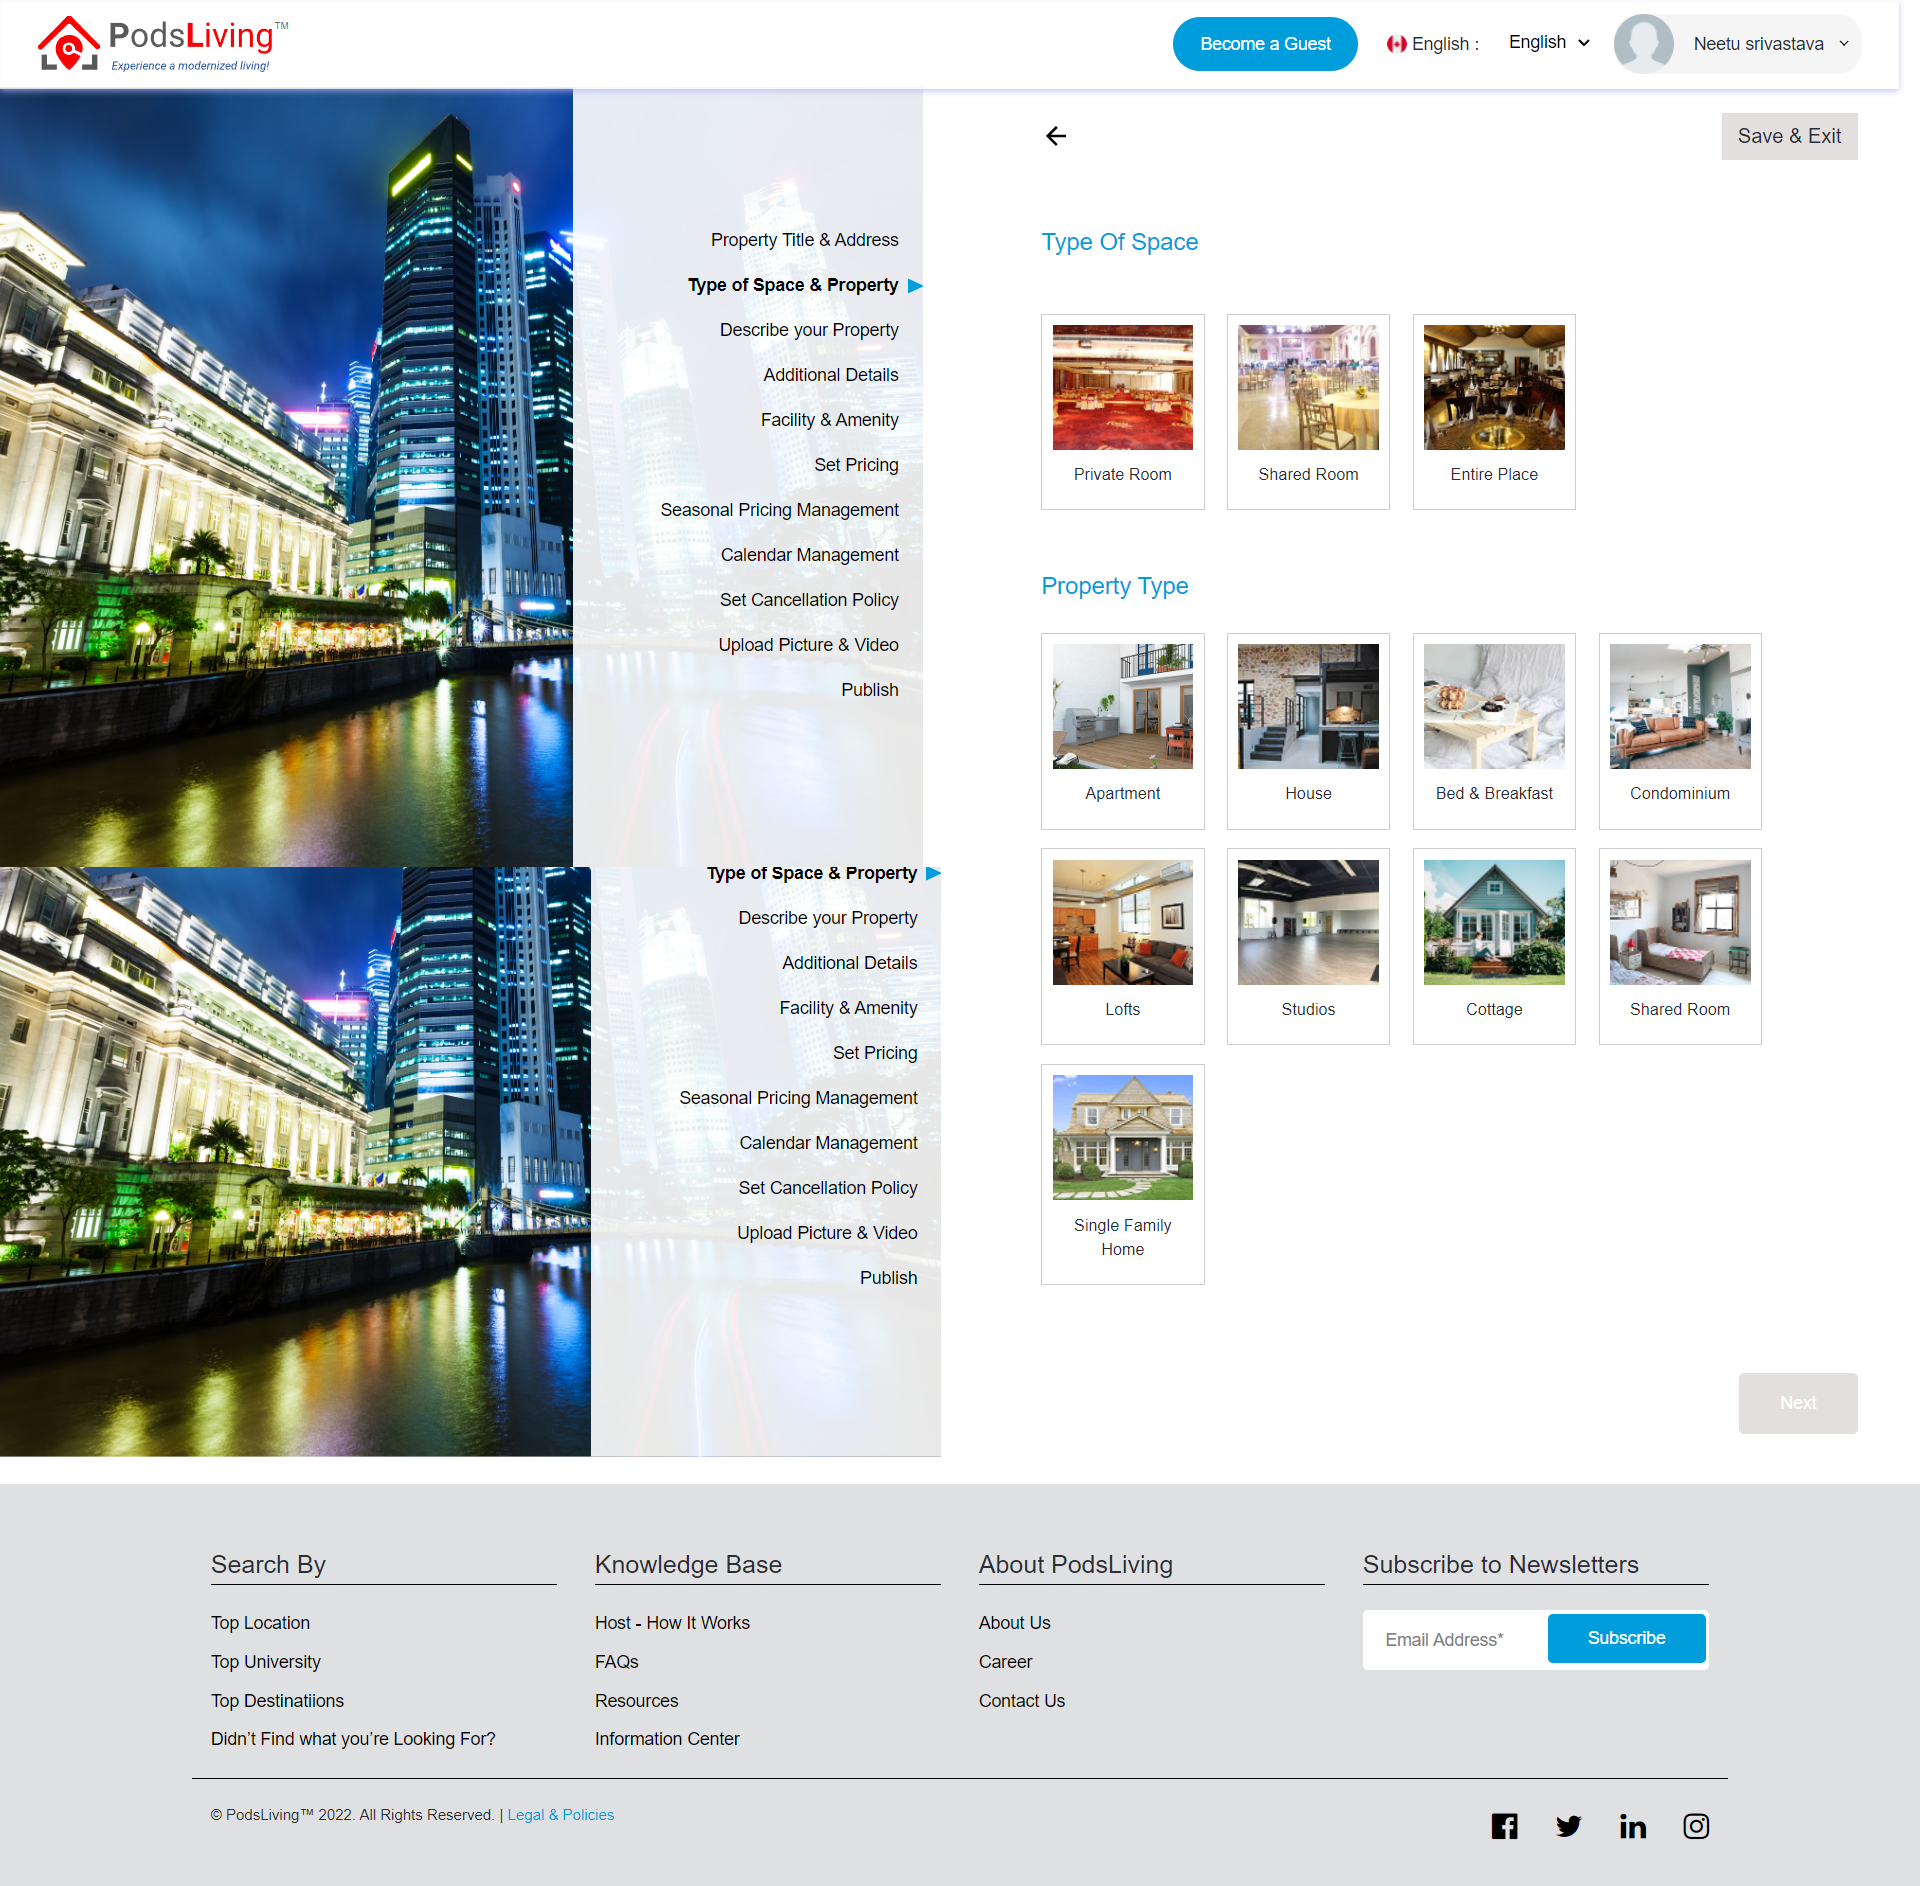
5. Type of Space & Property: Select types of spaces &Property. Add STR no if you have selected location Toronto otherwise Leave it. Click on Next button.
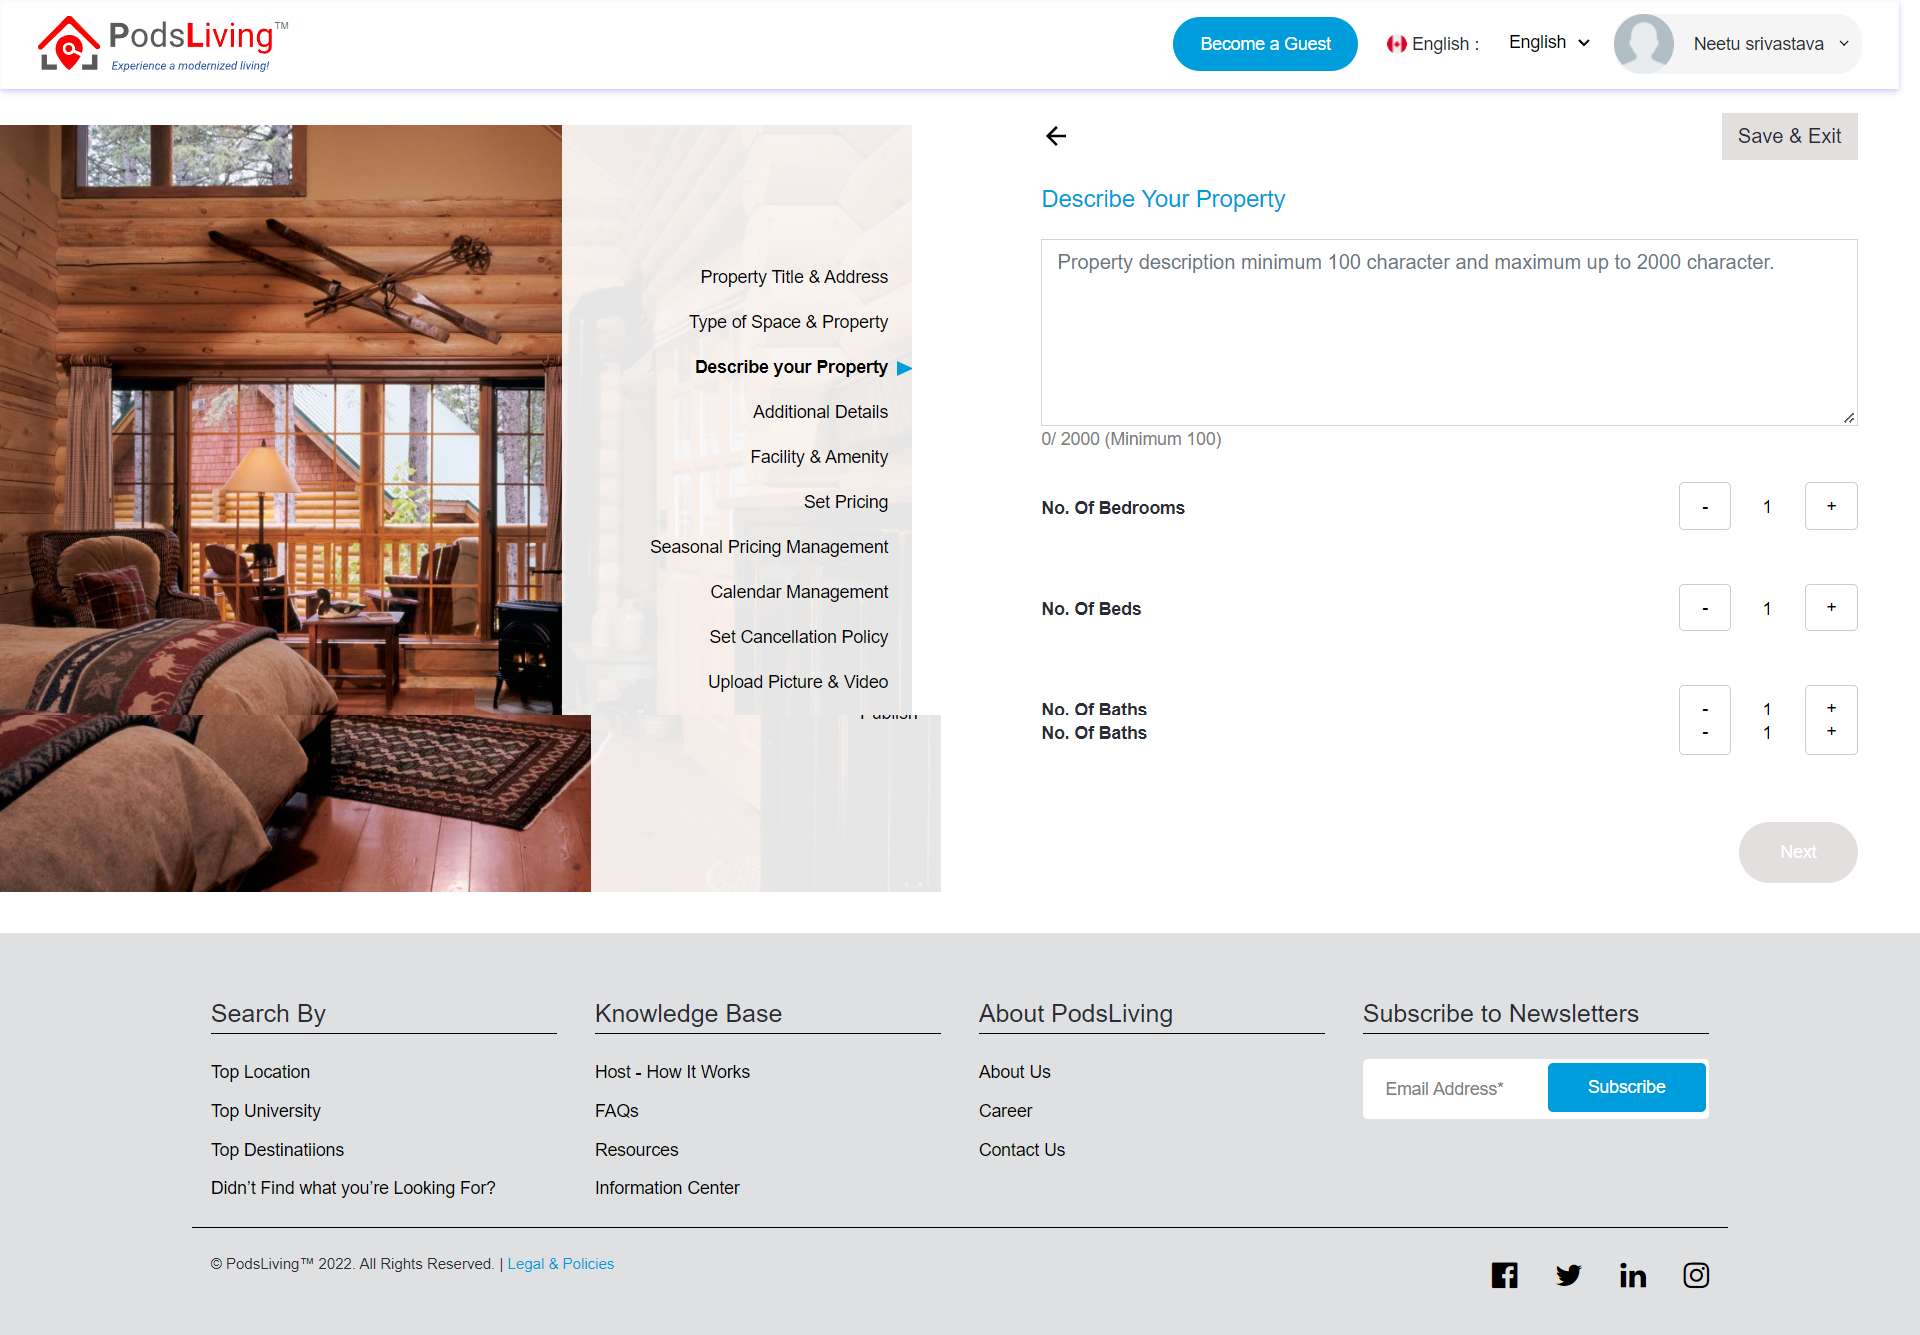
6. Describe your property: Add minimum 100 word in the Description summary and Select No. of beds, No. of bedrooms and No. of bath then click on Next button.
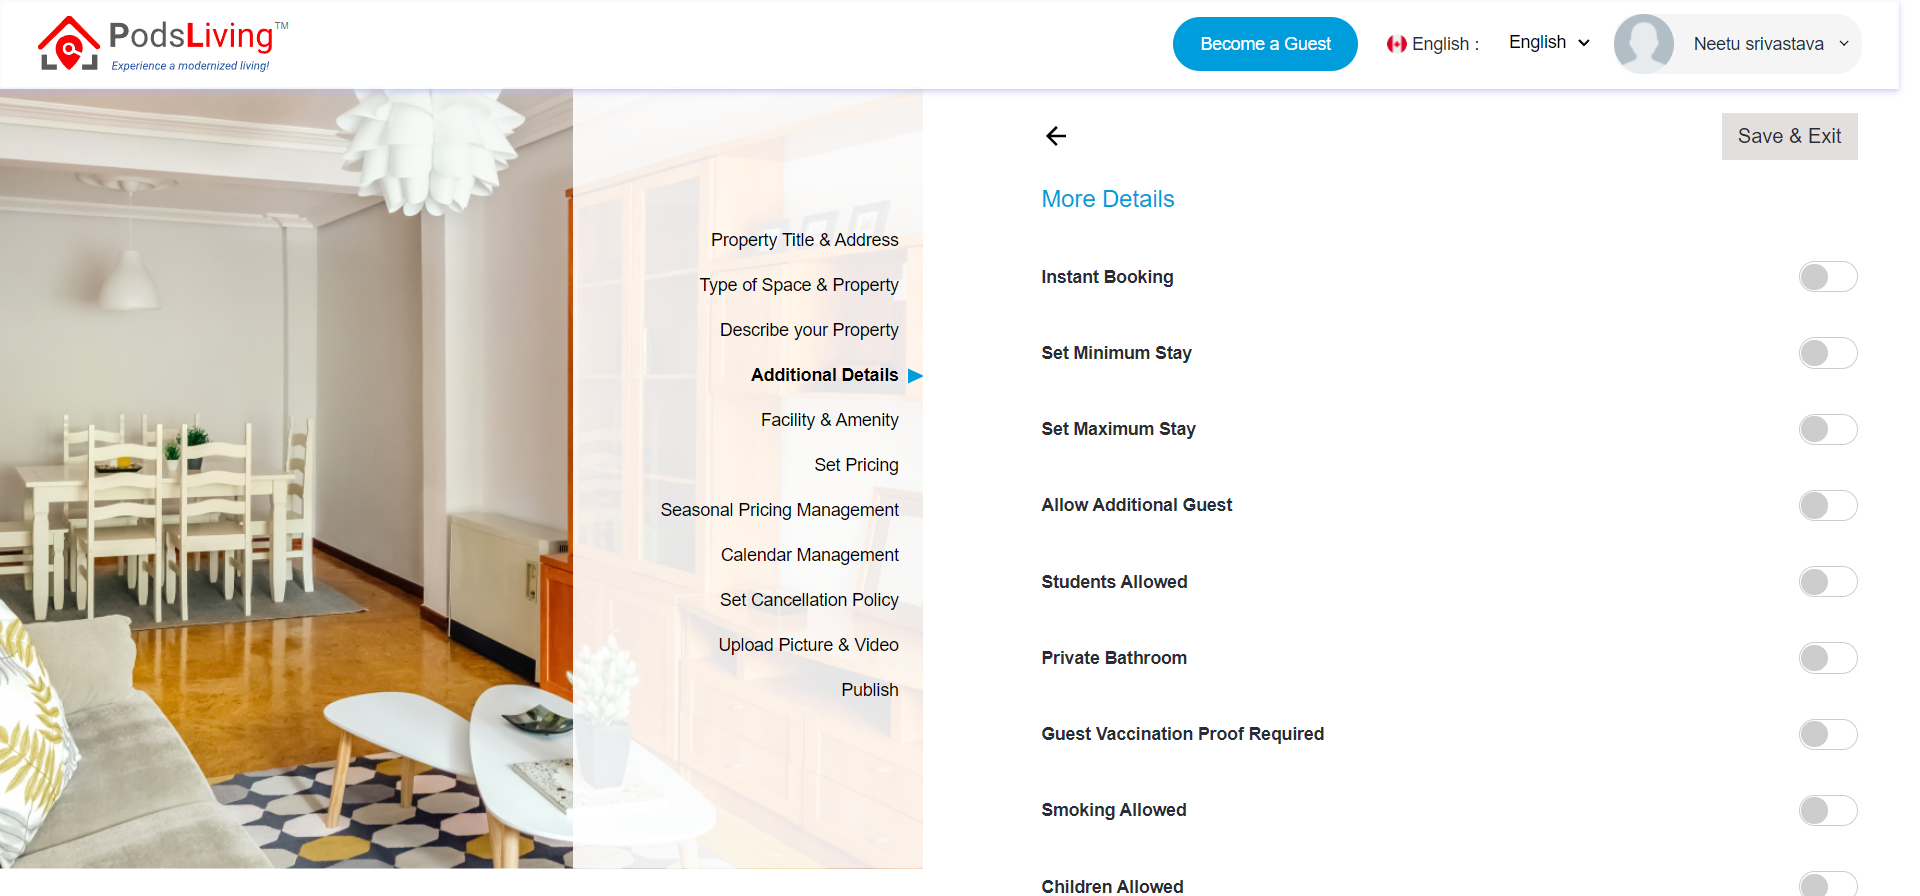
7. Additional Details: Select Additional details as per your required , Check-in or checkout time and Add House rules. Click on Next button.
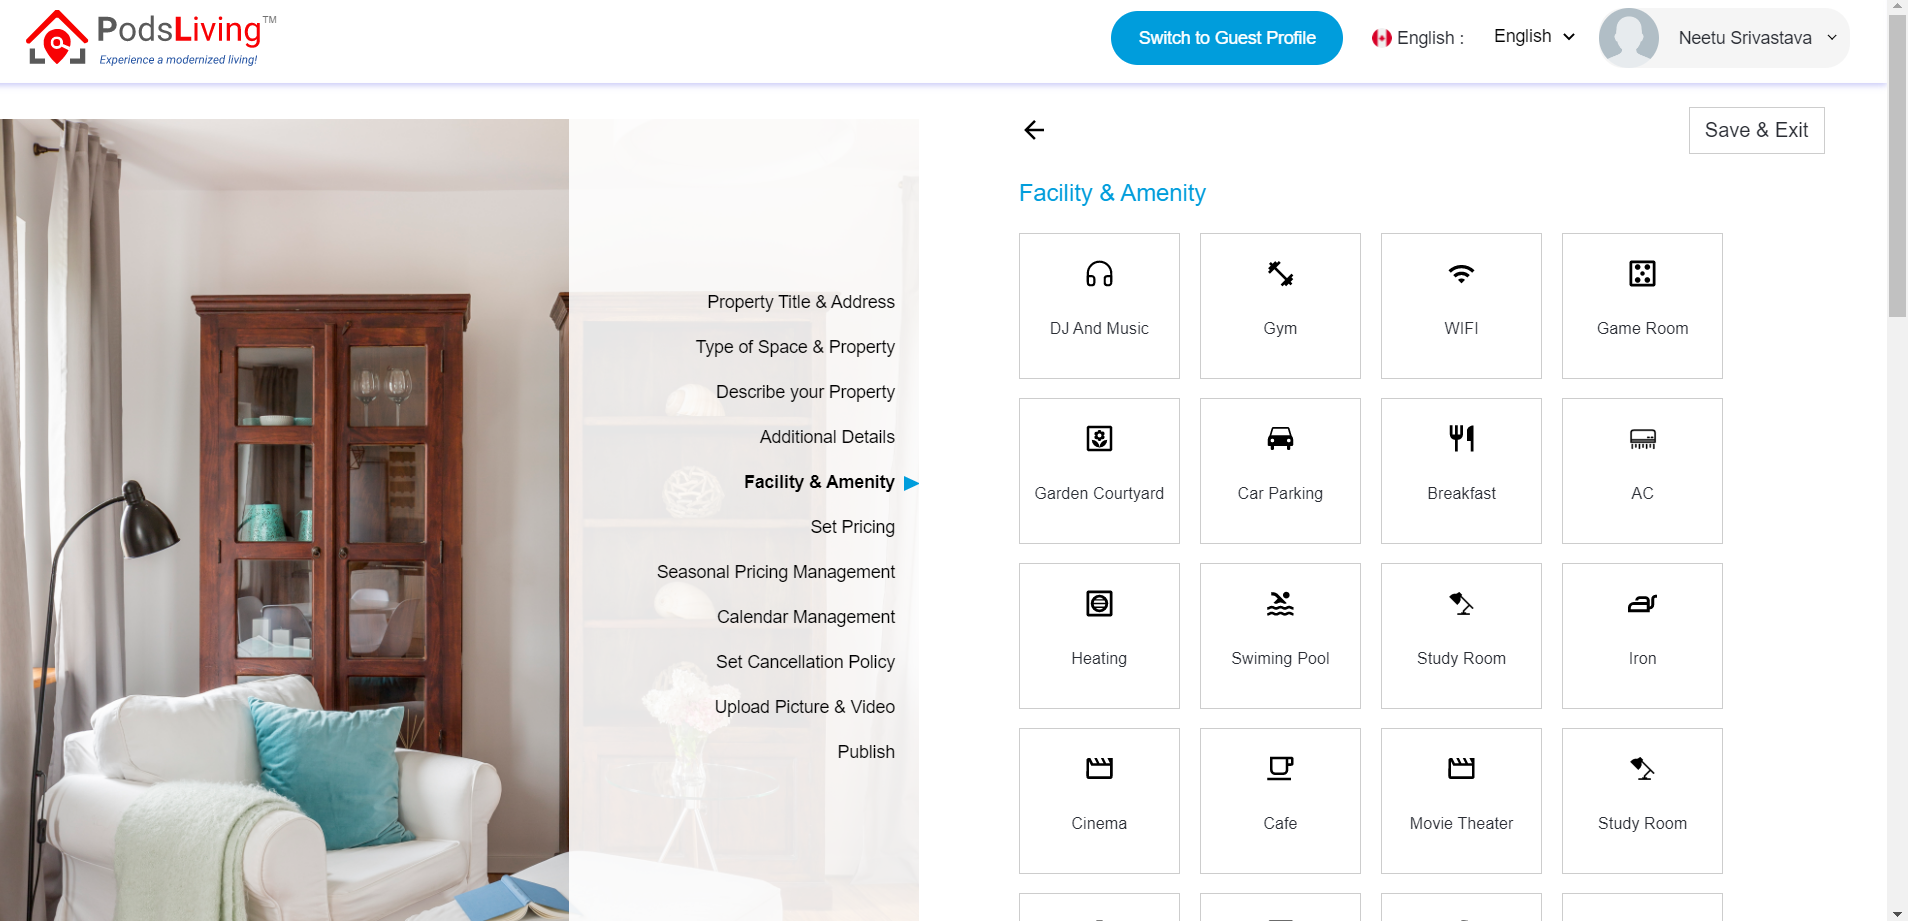
8. Facility & Amenity: Select Facility & Amenity and click on Next Button for Next step.
9. Set Pricing: Add base price, different price for weekends, and Cleaning price. Click on the Next button.

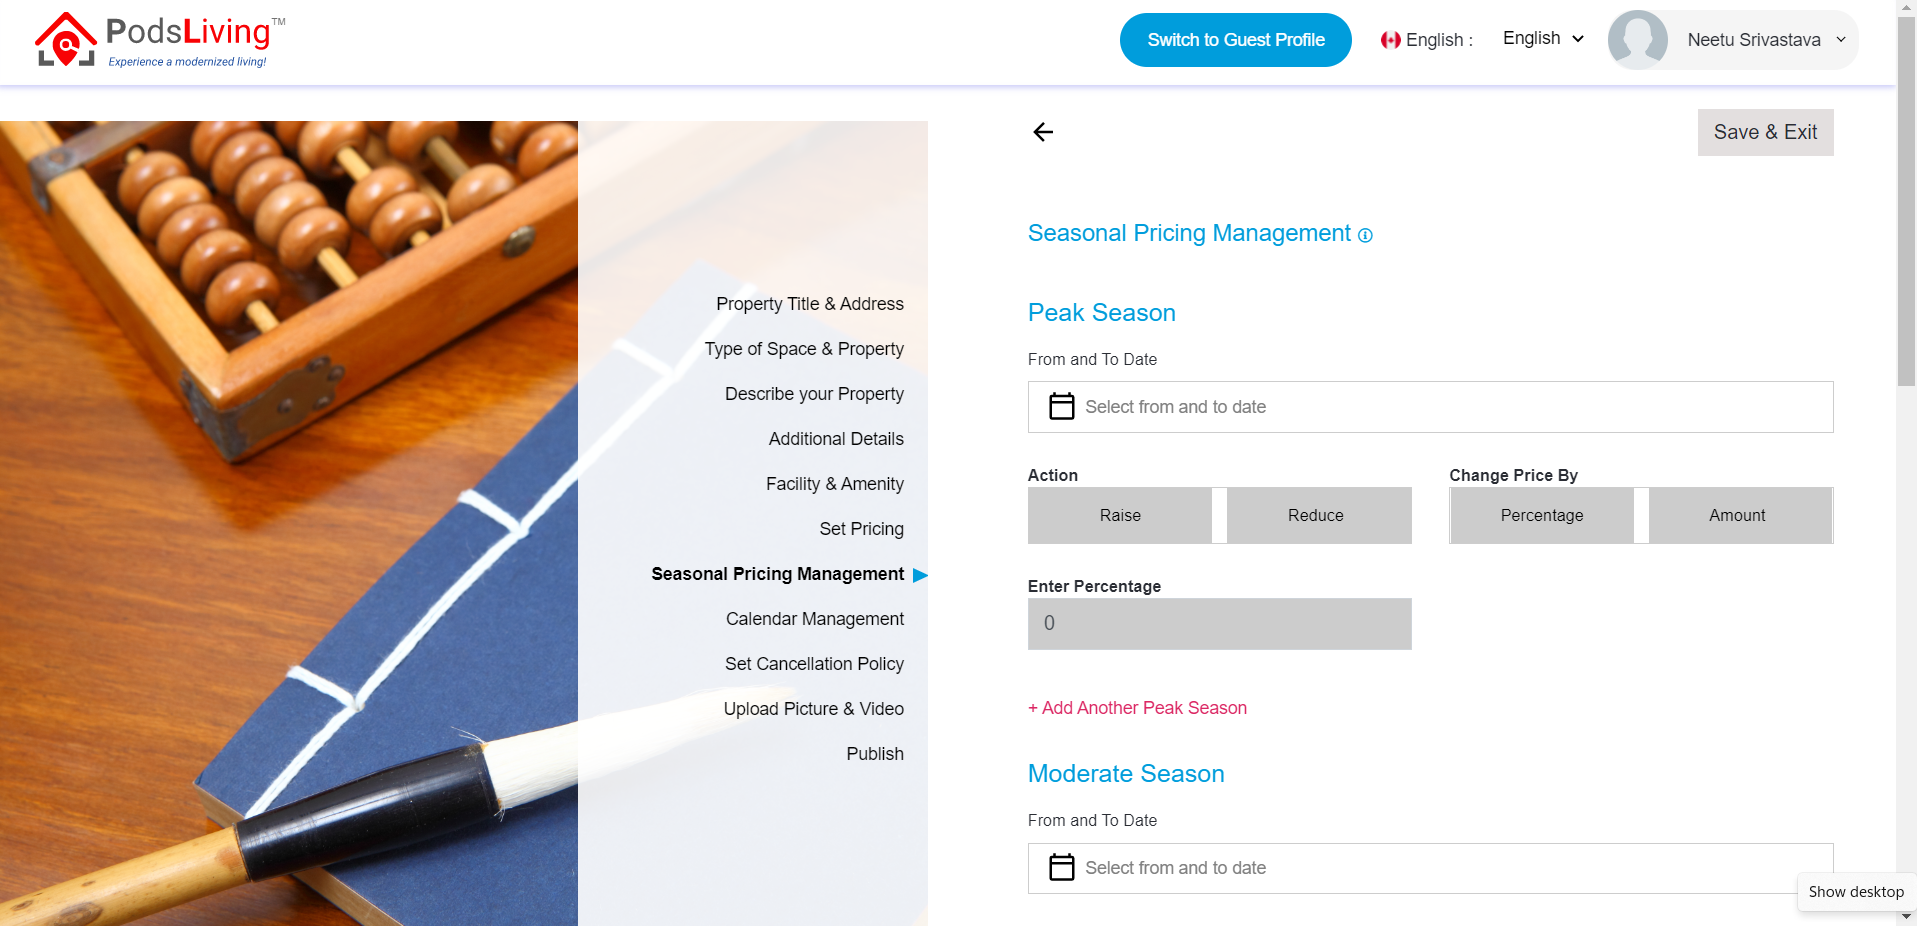
10. Seasonal Pricing Management: Set price and time for Peak, Moderate and Slow Season. Click on Next button for next step.
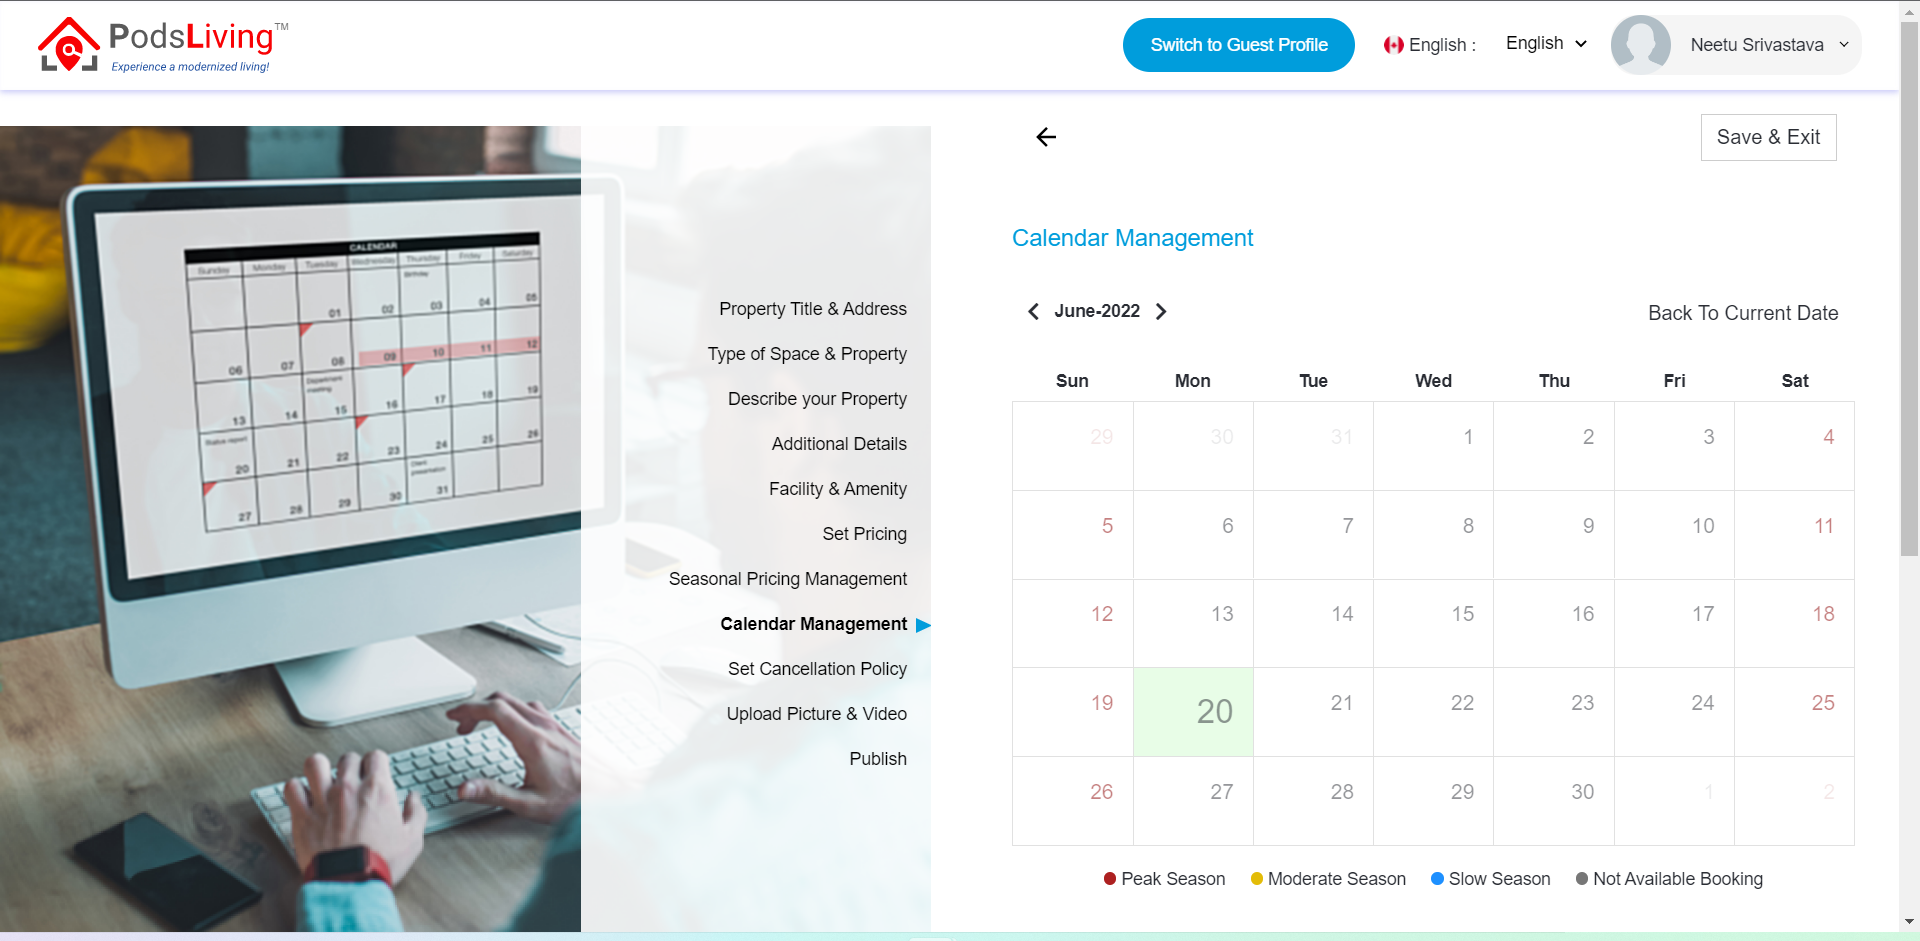
11. Calendar Management: Set date for Not Available booking. Peak, Moderate, Slow and Not-available booking will show in the calendar. Click on Next button.
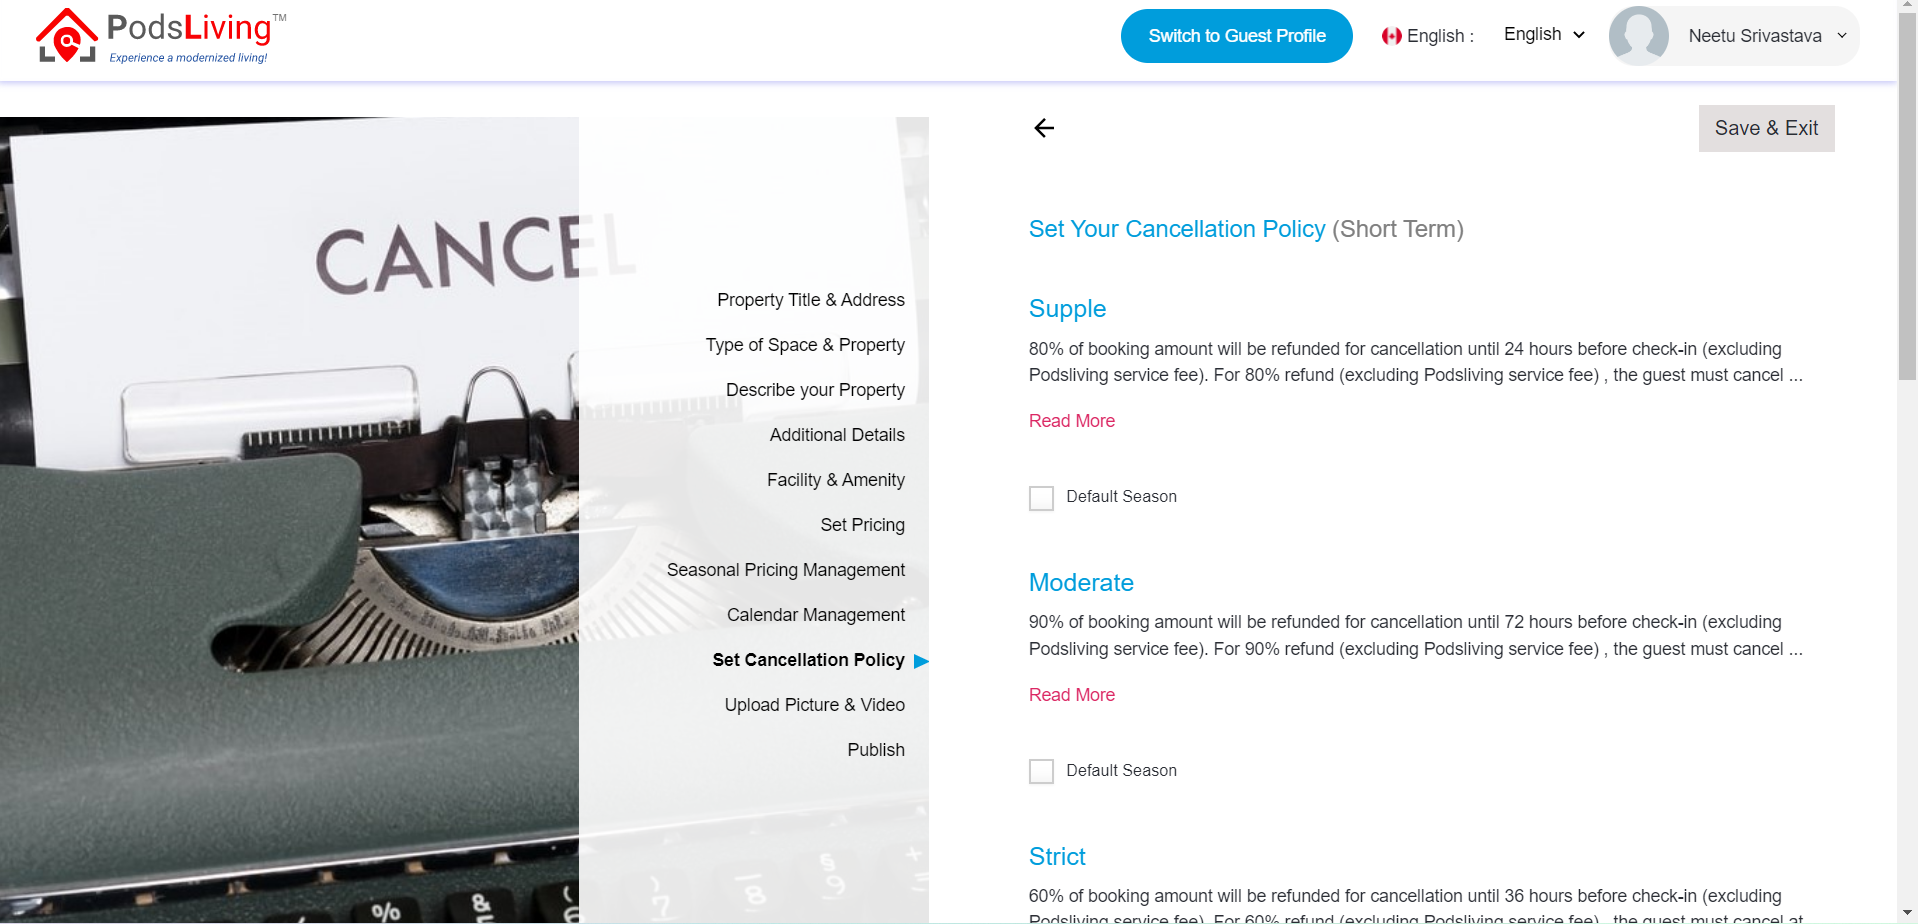
12. Set Cancellation Policy: Select cancellation policy and you can create own policy. Click on Next button.
13. Upload Picture & Video: upload images or videos and add caption. Click on cover radio in the images that you want to make cover image. Click on Next button.

14. Click on Publish button for publish.

15. Read and Select Additional details then click Continue button.

16. Congratulation page will show after adding a listing. Click on Check public view link to check to list otherwise click on go to dashboard link to go dashboard page.

17. When you click on Check public view link it will show listing.


